
Why doesn't my Wi-Fi or wired bird box camera work remotely?Updated 2 months ago
Sometimes these cameras will struggle to automatically configure their network settings when first connected to your router, causing them to only be accessible when your device are connected to the same internet router. This guide will show you how to check the address of your Wi-Fi router (also known as the Default Gateway) and change the IP address settings of your camera to match.
Before You Begin
Make sure that your bird box camera is powered on, connected to your internet router and has been added to your Windows or Apple computer. If the camera has only been added to your phone or tablet, use this guide to easily add it to your computer. Your computer will need to be connected to the same Wi-Fi router as the camera.
Let's Get Started
First you will need to find out the Default Gateway, or in other words, the IP address of your Wi-Fi router.
Just follow this guide to find this on a Windows or Mac computer.
Make a note of the 'Default Gateway', it will look something like this: 192.168.1.1.
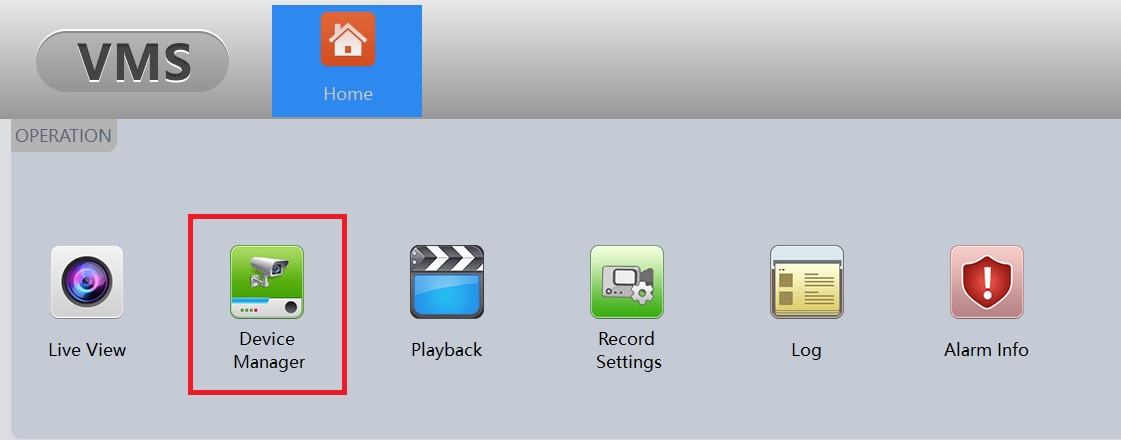
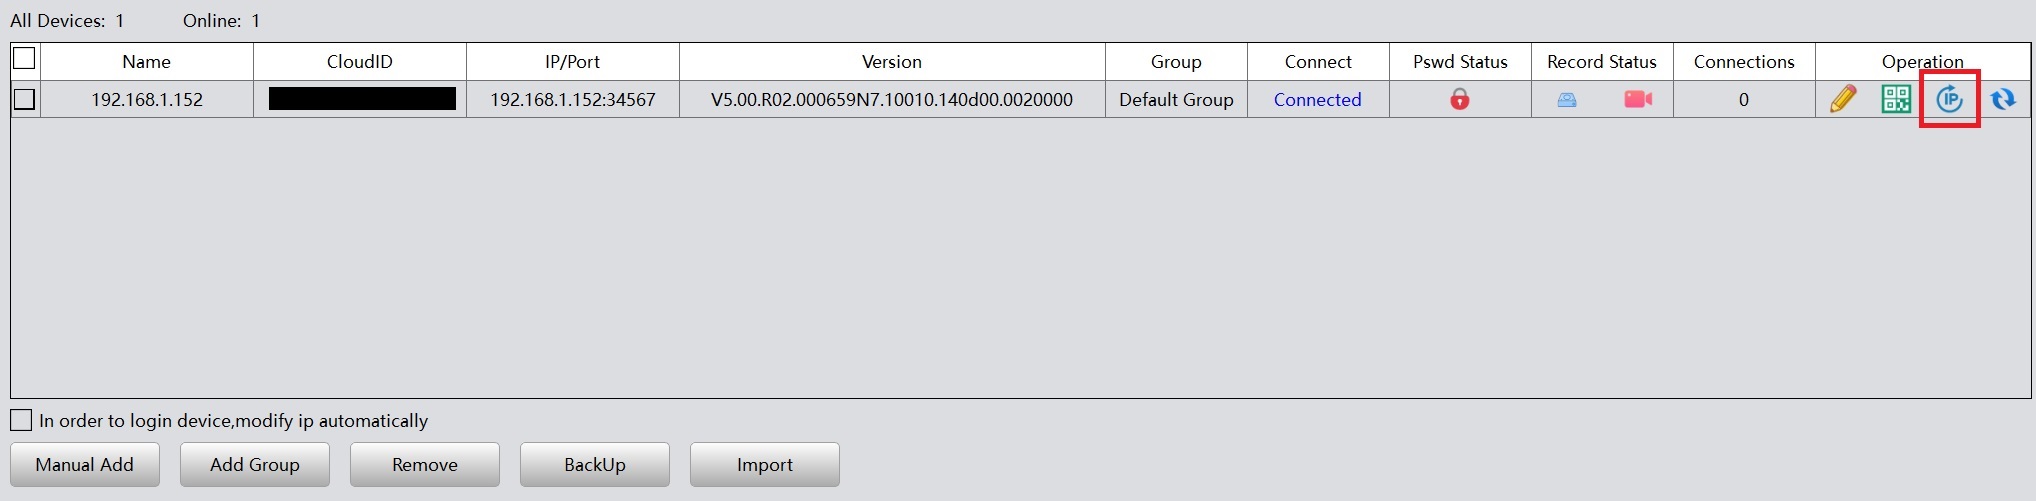
Now open up CMS5 or VMS, go to Device Manage, and click on the IP button underneath the 'Operation' toolbar.
If there is no IP button, this will be because you have added the camera to CMS5 using the serial number rather than using the 'IPV4 Search' button. Simply press the IPV4 Search button and the camera should appear in the top pane. Add it again and you should see the 'IP' button this time.
In the window that appears, type the Default Gateway address you noted down earlier into the 'DefaultGateWay' field and click Modify. This will allow the camera to communicate properly with your router so it can be viewed remotely. If the correct address is already in there, your issue is not related to the network settings.
Need more help?
If you need help with anything else please check out our other guides or get in contact.