
Getting started with your wireless or wired analogue cameraUpdated a month ago
This guide shows you how to get your new camera set up - no matter which model you have - and will answer your common (and perhaps not so common) questions. If none of the cameras in this guide look like the one you have, you might have a WiFi or wired IP camera; check out this guide instead.
This guide will answer the following questions:
- Which camera do I have?
- How do I set it up?
- How to configure your camera settings
- How can I watch it?
- How do other people watch it?
- Some other questions
- Next Steps
Which camera do I have?
Wired analogue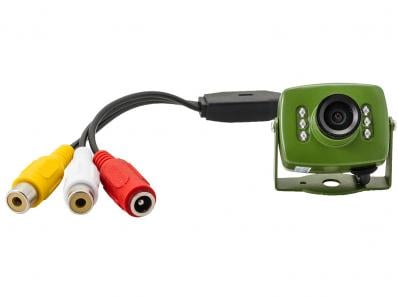
CMOSNC7G
The CMOSNC7G is one of our most popular wired analogue cameras. You can identify it from its shape (shared with the NC701G), and the three cables coming out of it for power, video and audio connections.
NCF15EA
We no longer sell this model, but you can identify it by the colour, square shape, and the three cables coming out of it for power, video and audio. There is also a small screw above the lens which is used to fix the lens focus in one place.
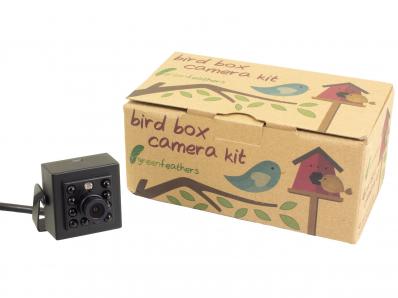
NCTV205I
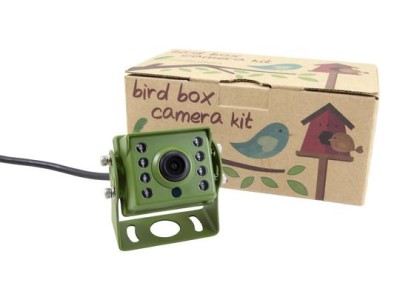
This is the successor to the NCF15EA. You can identify it by the square shape and the cable trailing from it. These cameras come in black and green. This camera does not have a microphone (though one can be attached) so it only has a cable for video and power. There is a toggle stick where the cable splits in two.
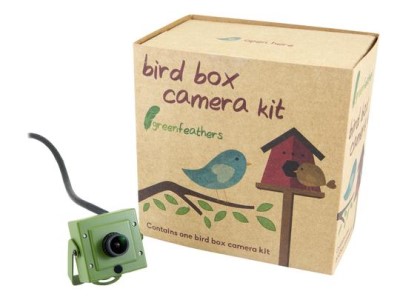
NCTV2A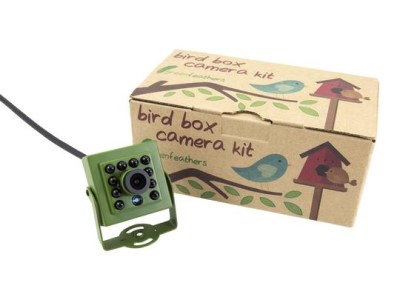
This looks similar to the NCTV205I; you can tell it apart because it's green and has a built in microphone, with a cable for audio alongside the cables for video and power.
NCTV8A
This camera is the big brother of the NCTV205I and NCTV2A. This camera can output video at 8MP, or 4K quality! It also has a built in microphone.
NCTV2WP
This is the odd one out of the bunch. It has a distinctive shape and is fully waterproof; ideal for mounting outside in any kind of weather. These have been released in black and green.
Wireless analogue
NC701G
You can identify this cameras from its small size and small antenna. There is only one jack on the camera to allow for power to be supplied, because it sends the wireless signal to the silver receiver box.
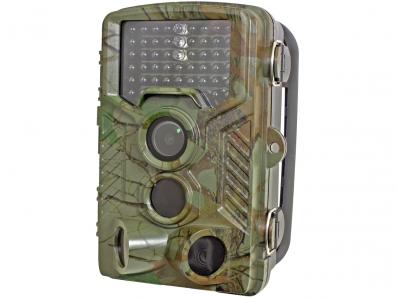
Battery powered trail camera
HCAM450
This is the only trail camera we currently sell.
How do I set it up?
CMOSNC7G and NCF15EA
These cameras are plug and play; they are designed to work as soon as they are plugged in. If you need some instructions on wiring or general setup tips, check out the quick start guide that came with your camera or click here.
NC701G
This camera is also plug and play, but it works differently than most because the signal is sent wirelessly. If you need some instructions on wiring or general setup tips, check out the quick start guide that came with your camera or click here.
Here are some additional guides to help you get set up:
Setting up and troubleshooting your wireless camera kit
Connecting your wireless bird box camera to your TV
How to change the channel on your wireless bird box camera
NCTV205I, NCTV2A, NCTV8, NCTV2WP
HCAM450
How to improve the colour image from your bird box camera
How to adjust the focus on your bird box camera
How to configure your camera settings
If you have a CMOSNC7G, NCF15EA or NC701G, these cameras are plug and play and have no additional settings.
NCTV205I, NCTV2A, NCTV8, NCTV2WP
To change the cameras output mode, press and hold the switch found on the camera cable in the direction you desire for 5 seconds.
The image settings and more for this camera can be accessed via the OSD menu (on screen display). Simply press the toggle stick in (not up, down, left or right) and the menu will appear on-screen.
HCAM450
Read the manual for information on the various settings for this camera, including an intervalometer for creating time-lapses.
How can I watch it?
Viewing on a computer
If you have a USB capture device you can connect any of our analogue cameras (except for the HCAM450) to a Windows or Mac computer for live viewing, live streaming and recording. Follow this guide to get it set up on Windows, or here to set it up on a Mac.
CMOSNC7G, NC701G, NCF15EA
You can plug this camera directly into any TV with RCA ports.
If your TV doesn't have RCA ports, you have two options depending on the inputs available on your TV:
If you want to connect this device to a recorder which has BNC ports, you will need an RCA to BNC adaptor. If you want to connect the camera directly to a BNC cable which then connects to the recorder, you will need a BNC to RCA adaptor.
NCTV205I, NCTV2A, NCTV8A
This camera has a BNC connector, but is supplied with a BNC to RCA adaptor so you can plug this camera directly into any TV with RCA ports.
If your TV doesn't have RCA ports you have three options depending on the inputs available on your TV:
BNC to HDMI converter (allows for full HD viewing on a TV)
If you want to connect this device to a recorder which has BNC ports, you will need a BNC cable.
HCAM450
To view the images and videos captured by this trail camera, you can either view the files directly on the camera, remove the micro SD card and export the files to a PC for viewing, connect the camera directly to a PC using a mini USB cable or connect the camera directly to an external monitor. See page 16 of the manual for more information.
How do other people watch it?
If you want to share the footage with a large audience, you can live stream the camera footage onto Youtube, follow this guide to set it up. To do this you will first need a USB capture device so that you can connect the camera to a Windows or Mac computer. This will not work for the HCAM450 camera.
Some other questions
Can my camera run from battery power?
Yes, but depending on the type of camera you have you will need a different type of battery.
Check the power supply that comes with the camera and make a note of the voltage, it will be either 8 or 12V. When you are sure, you can purchase the correct battery here from our Green Feathers web page.
These cameras can use other batteries, or even solar power, but this is not something that we can support.
Need more help?
If you need help with anything else please check out our other guides or get in contact.