
Green Feathers 3rd Gen settings guideUpdated a month ago
This guide is for the WiFi Bird Box Camera 3rd Gen only. If you are unsure which camera you have, have a look at this article.
This guide shows you how to access and edit your camera settings.
- Watch George run through how to use the Green Feathers App
- 1. Let’s get started
- 2. Live view menu
- Screenshot
- Speak
- Record
- Playback
- Cloud storage
- Alarm
- Photo album
- 3. Settings menu
- [Device name]
- Basic Function Settings
- Detection Alarm Settings
- Storage Settings (Set recording to motion or continuous)
- Offline Notification
- Share Device
- FAQ & Feedback
- Device Update
- Remove Device
Before you begin
You'll need your WiFi camera set up and connected to your phone or tablet; if you haven't done that already follow this guide to get started. If you want to use your camera to record footage, make sure you've inserted a micro SD card into the camera.
Watch George run through how to use the Green Feathers App
1. Let’s get started
Open the Green Feathers app, select your camera and go to the live view screen.

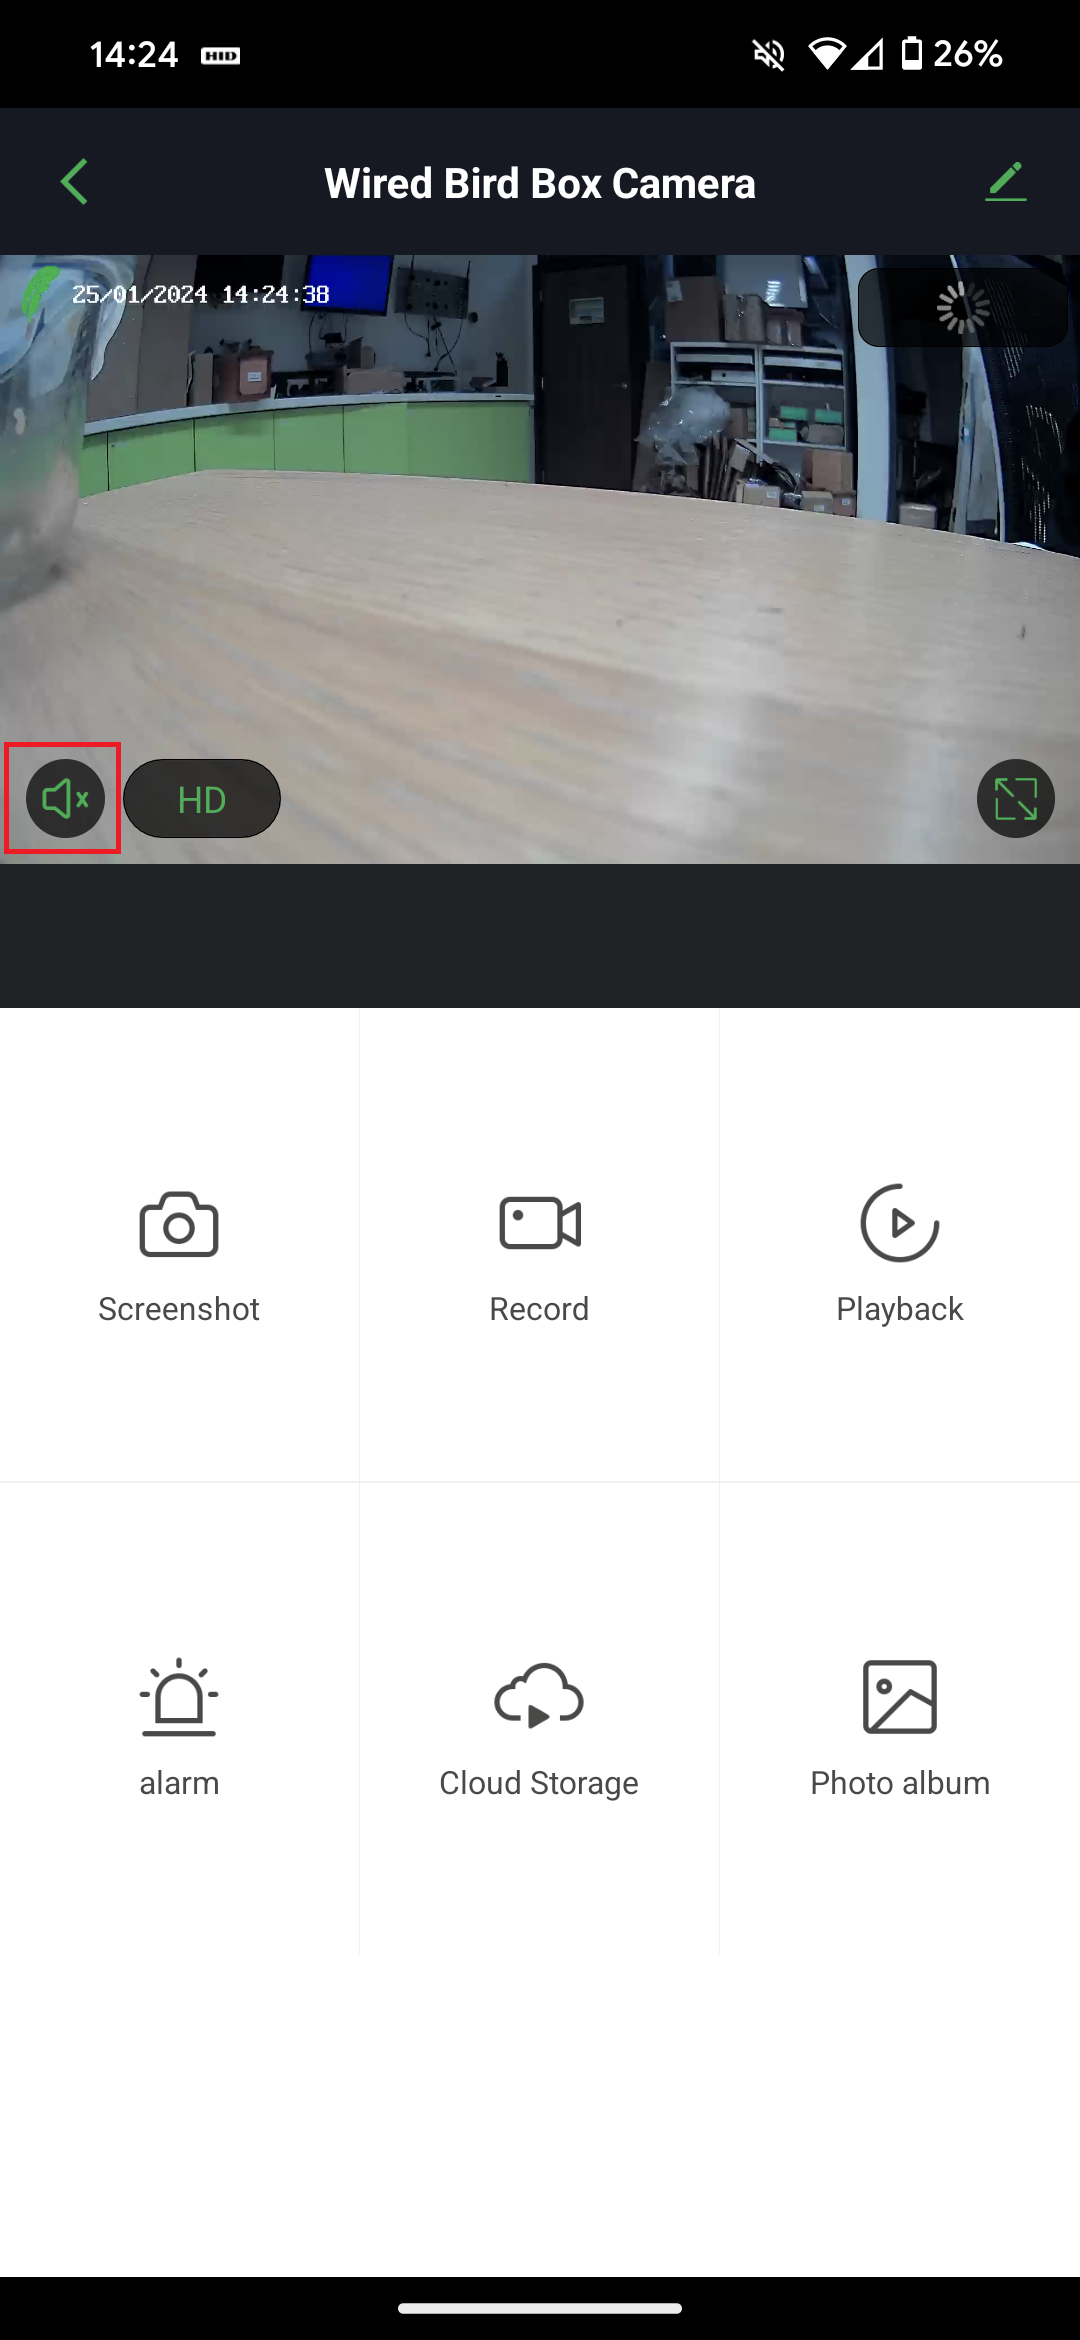
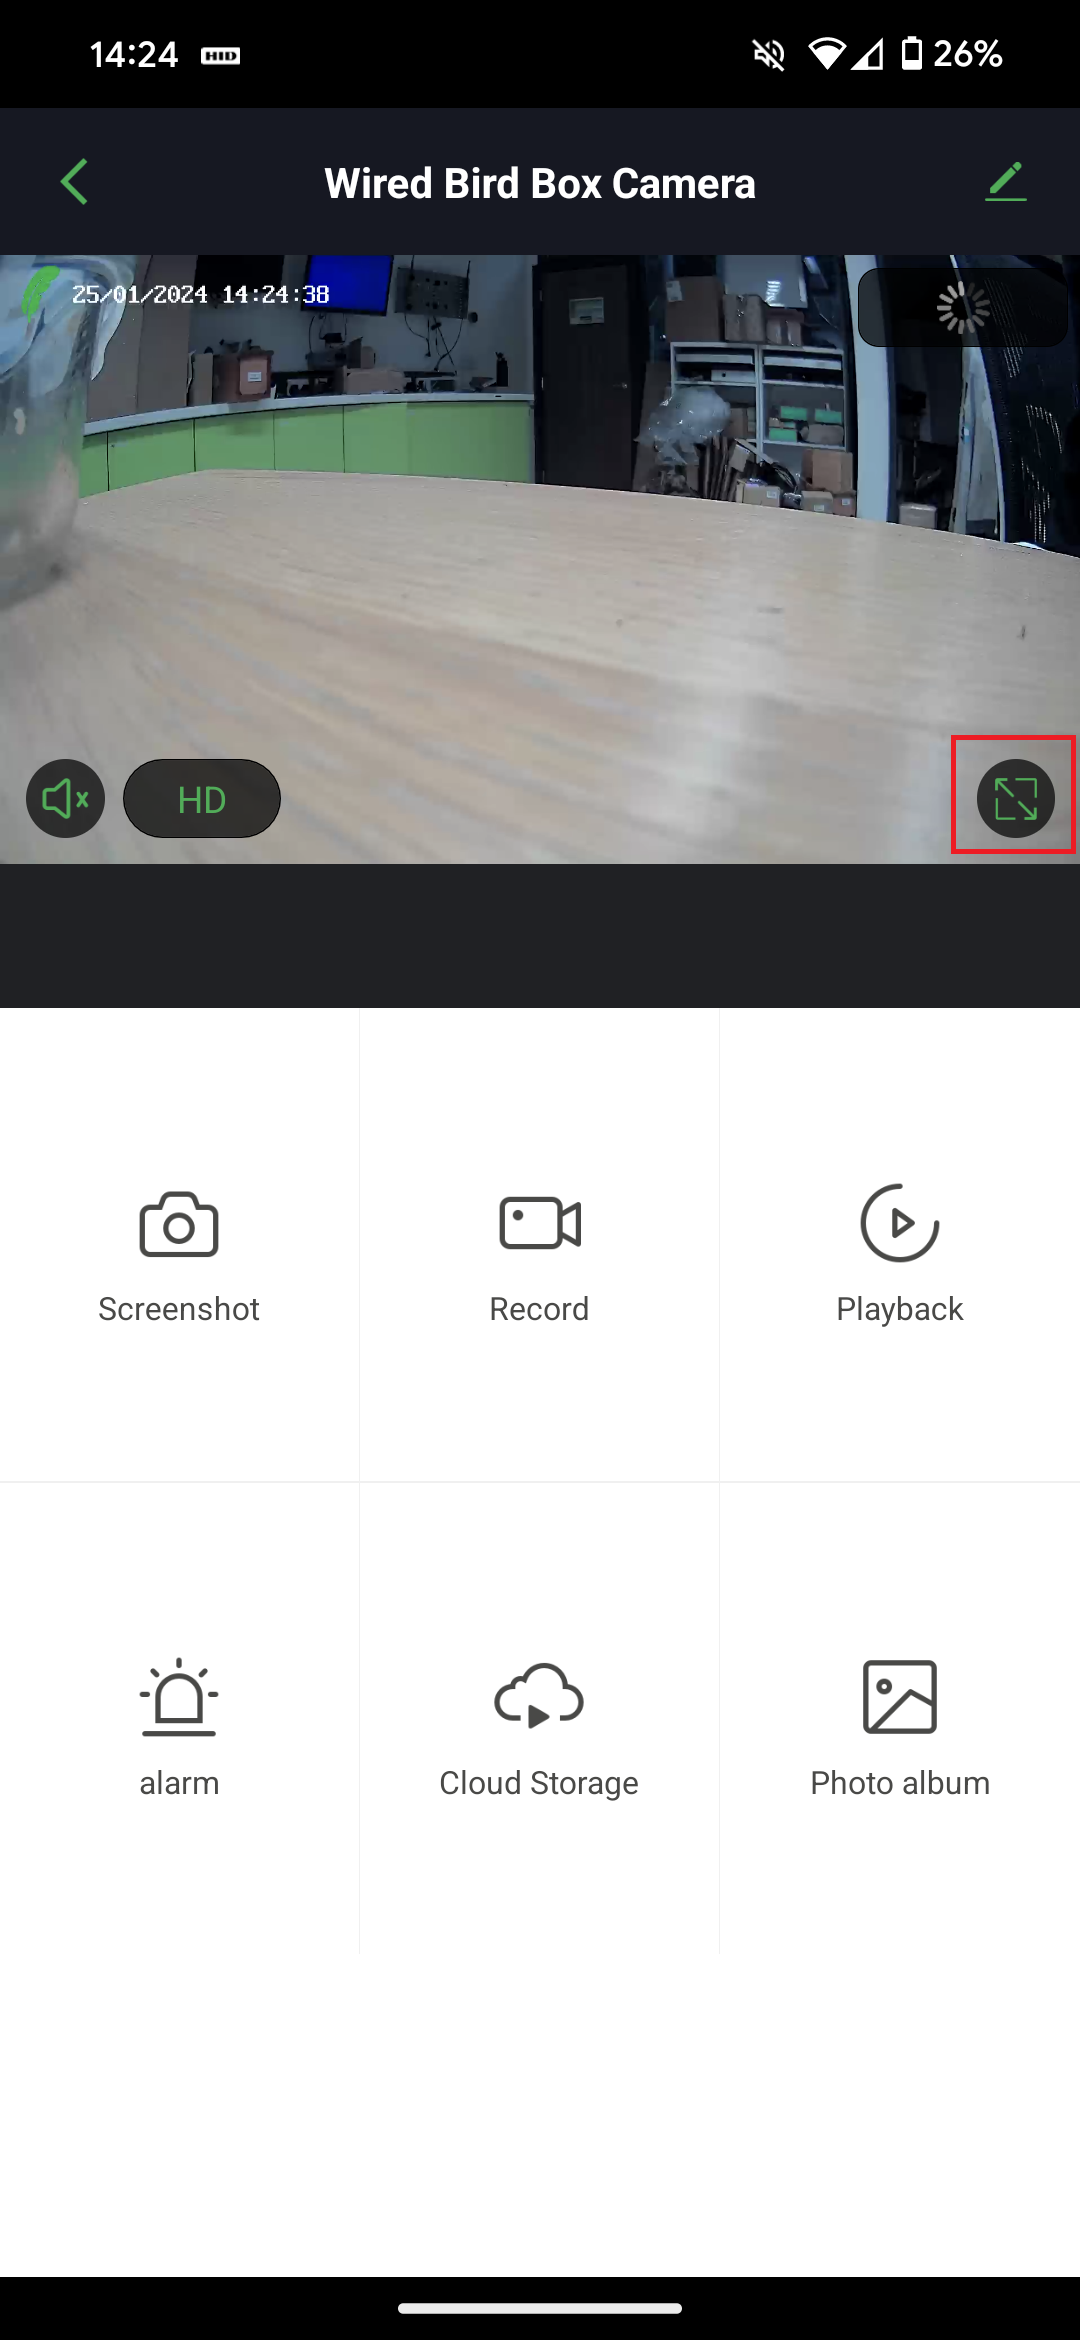
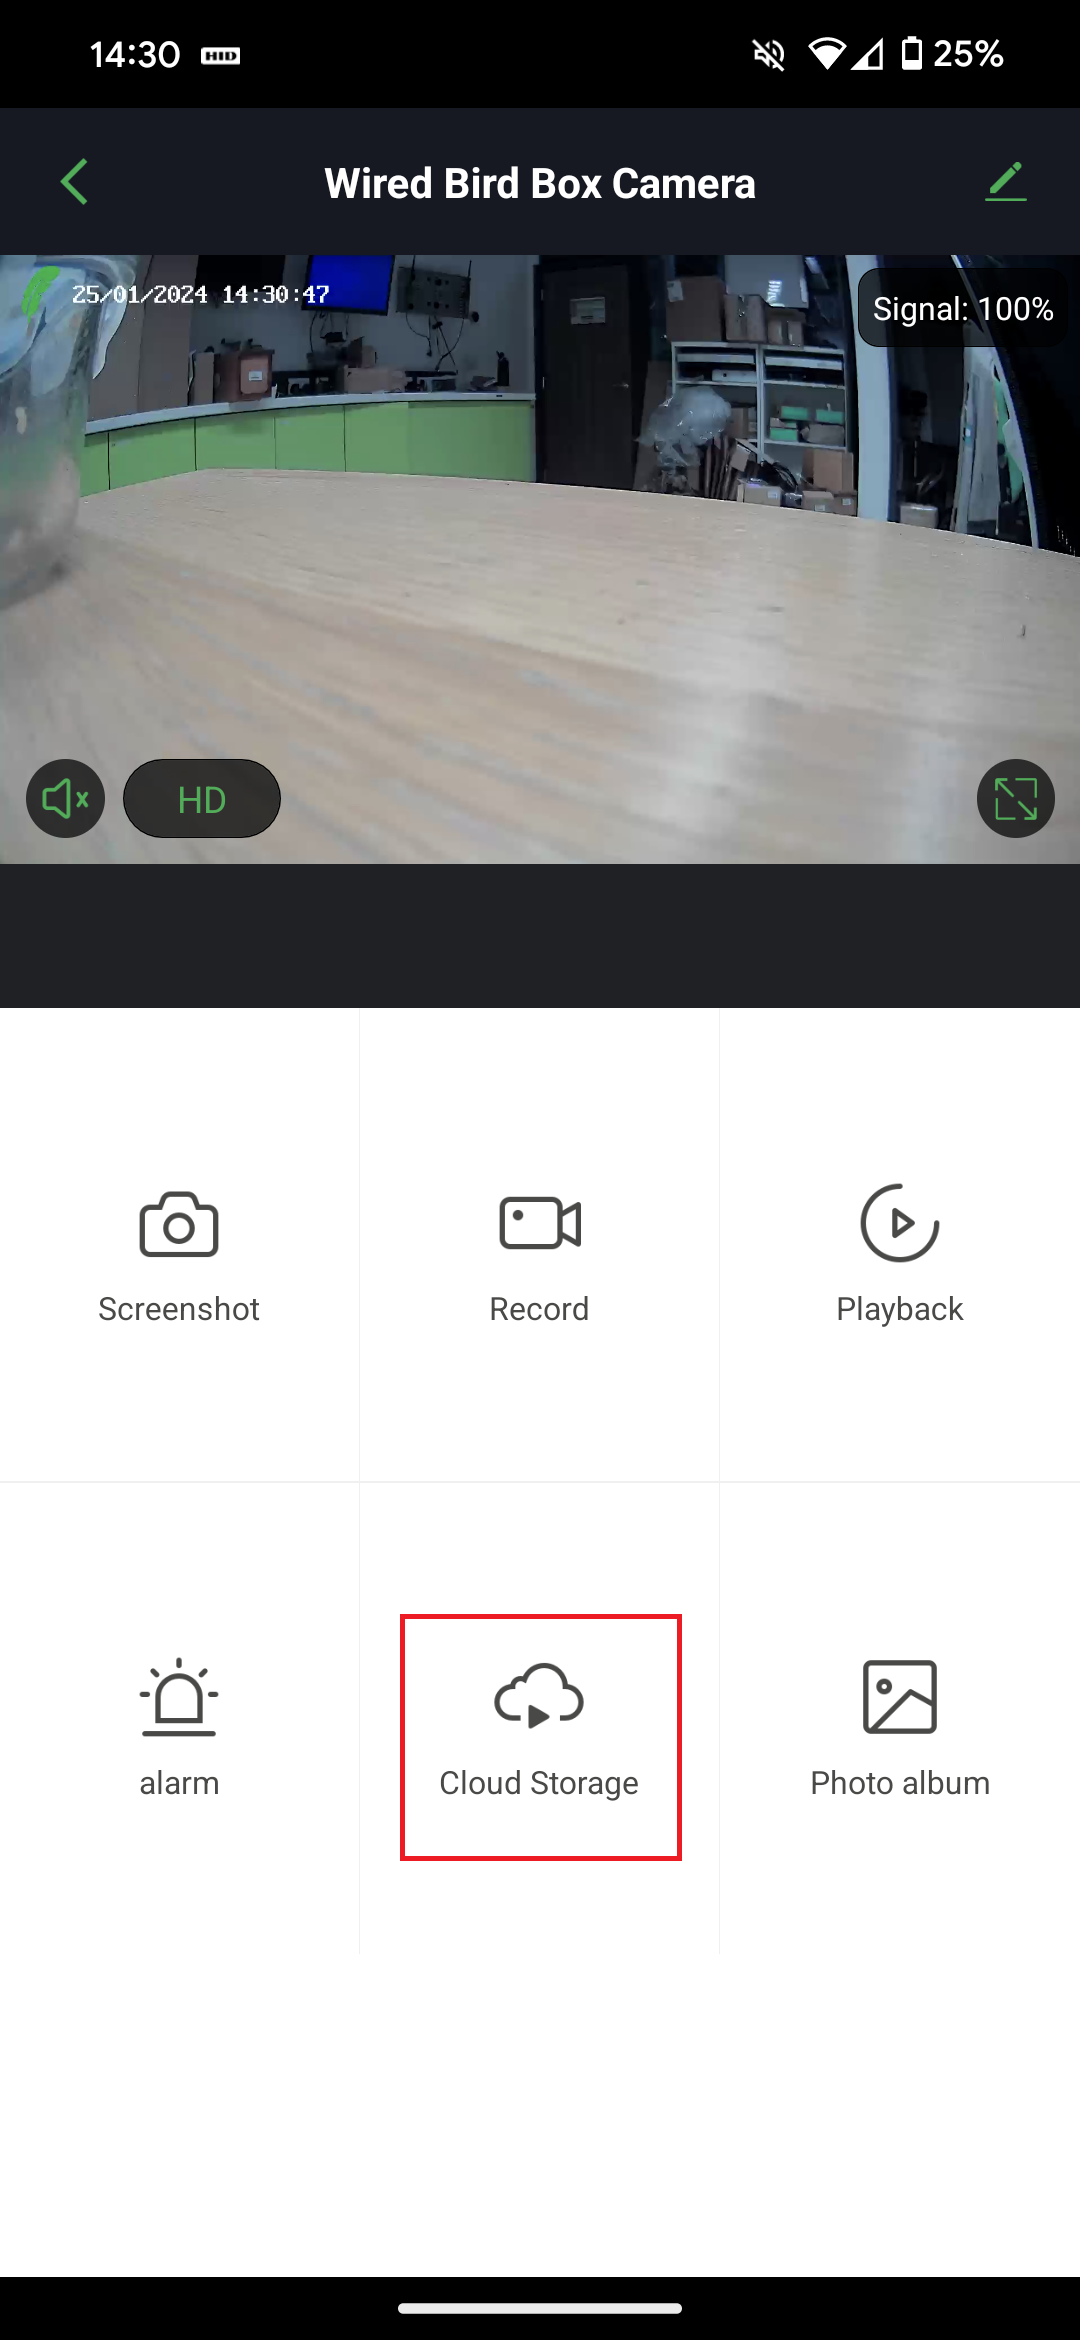
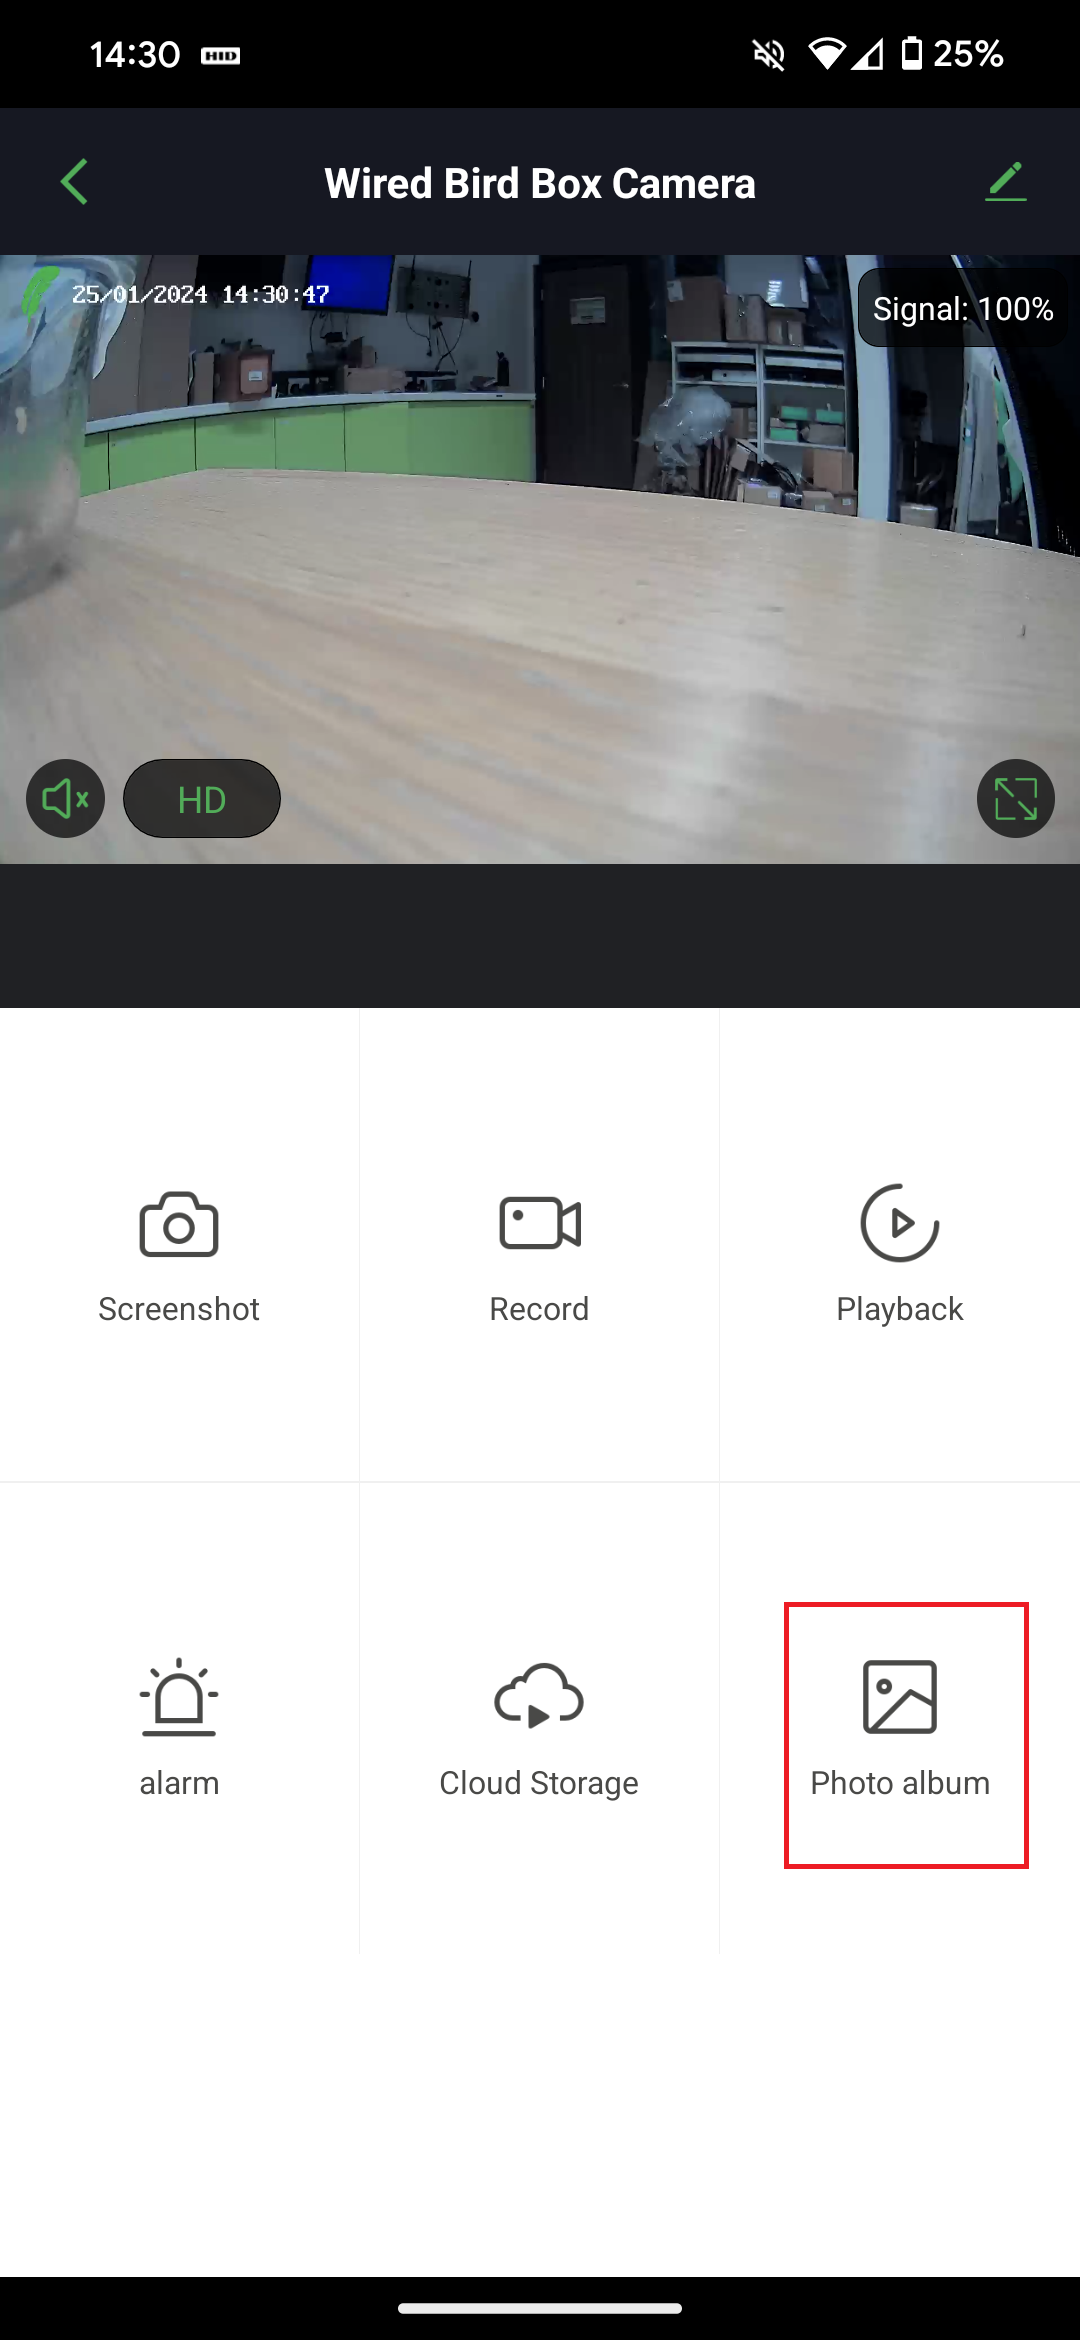
2. Live view menu
Here you will find some of the most useful settings for the camera overlaid on top of and underneath the live view screen.

- Tap the icon at the bottom left of the live view to turn the sound on or off.
- Tap the icon at the bottom right to turn on fullscreen mode, to turn it off tap the arrow in the top left corner of the screen.
- Tap the 'HD' icon (high definition) to switch to SD mode (standard definition).
- This will result in a lower quality image, but it is useful if you need to use less data or if you are using a slow internet connection.
- This indicates the strength of the WiFi signal that the camera is connected to.
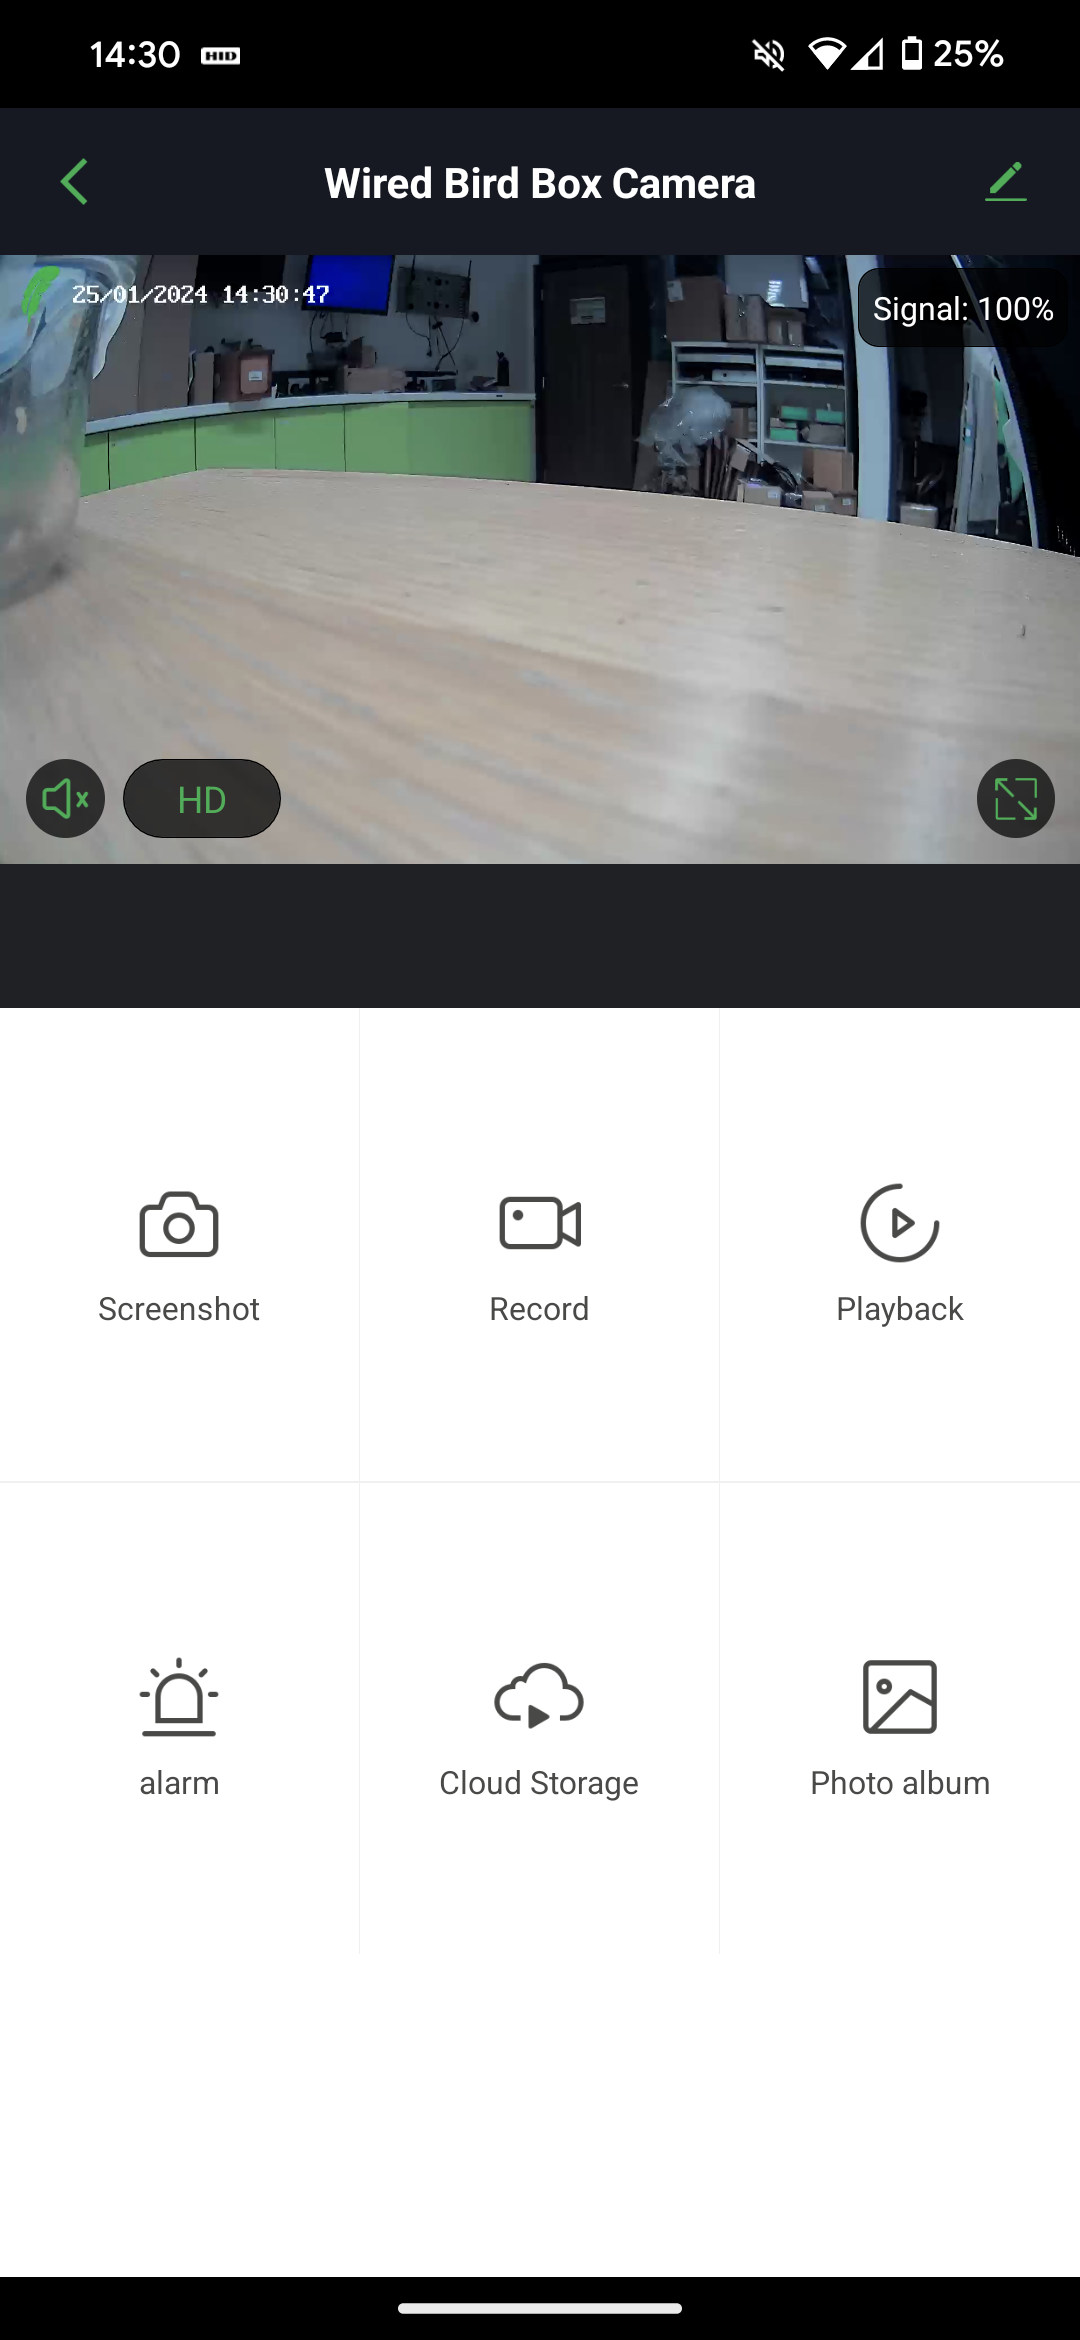
- If the signal is less than 50% your camera may struggle to connect consistently.
Screenshot
- Tap this button to take a screenshot of what is currently in front of the camera.
- The screenshot will be saved to a folder on your phone or tablet. You can also view it using the 'Photo album' button below.

Record
- Tap this button to begin recording video of what is currently in front of the camera.
- The video will be saved to a folder on your phone or tablet. You can also view it using the 'Photo album' button below.

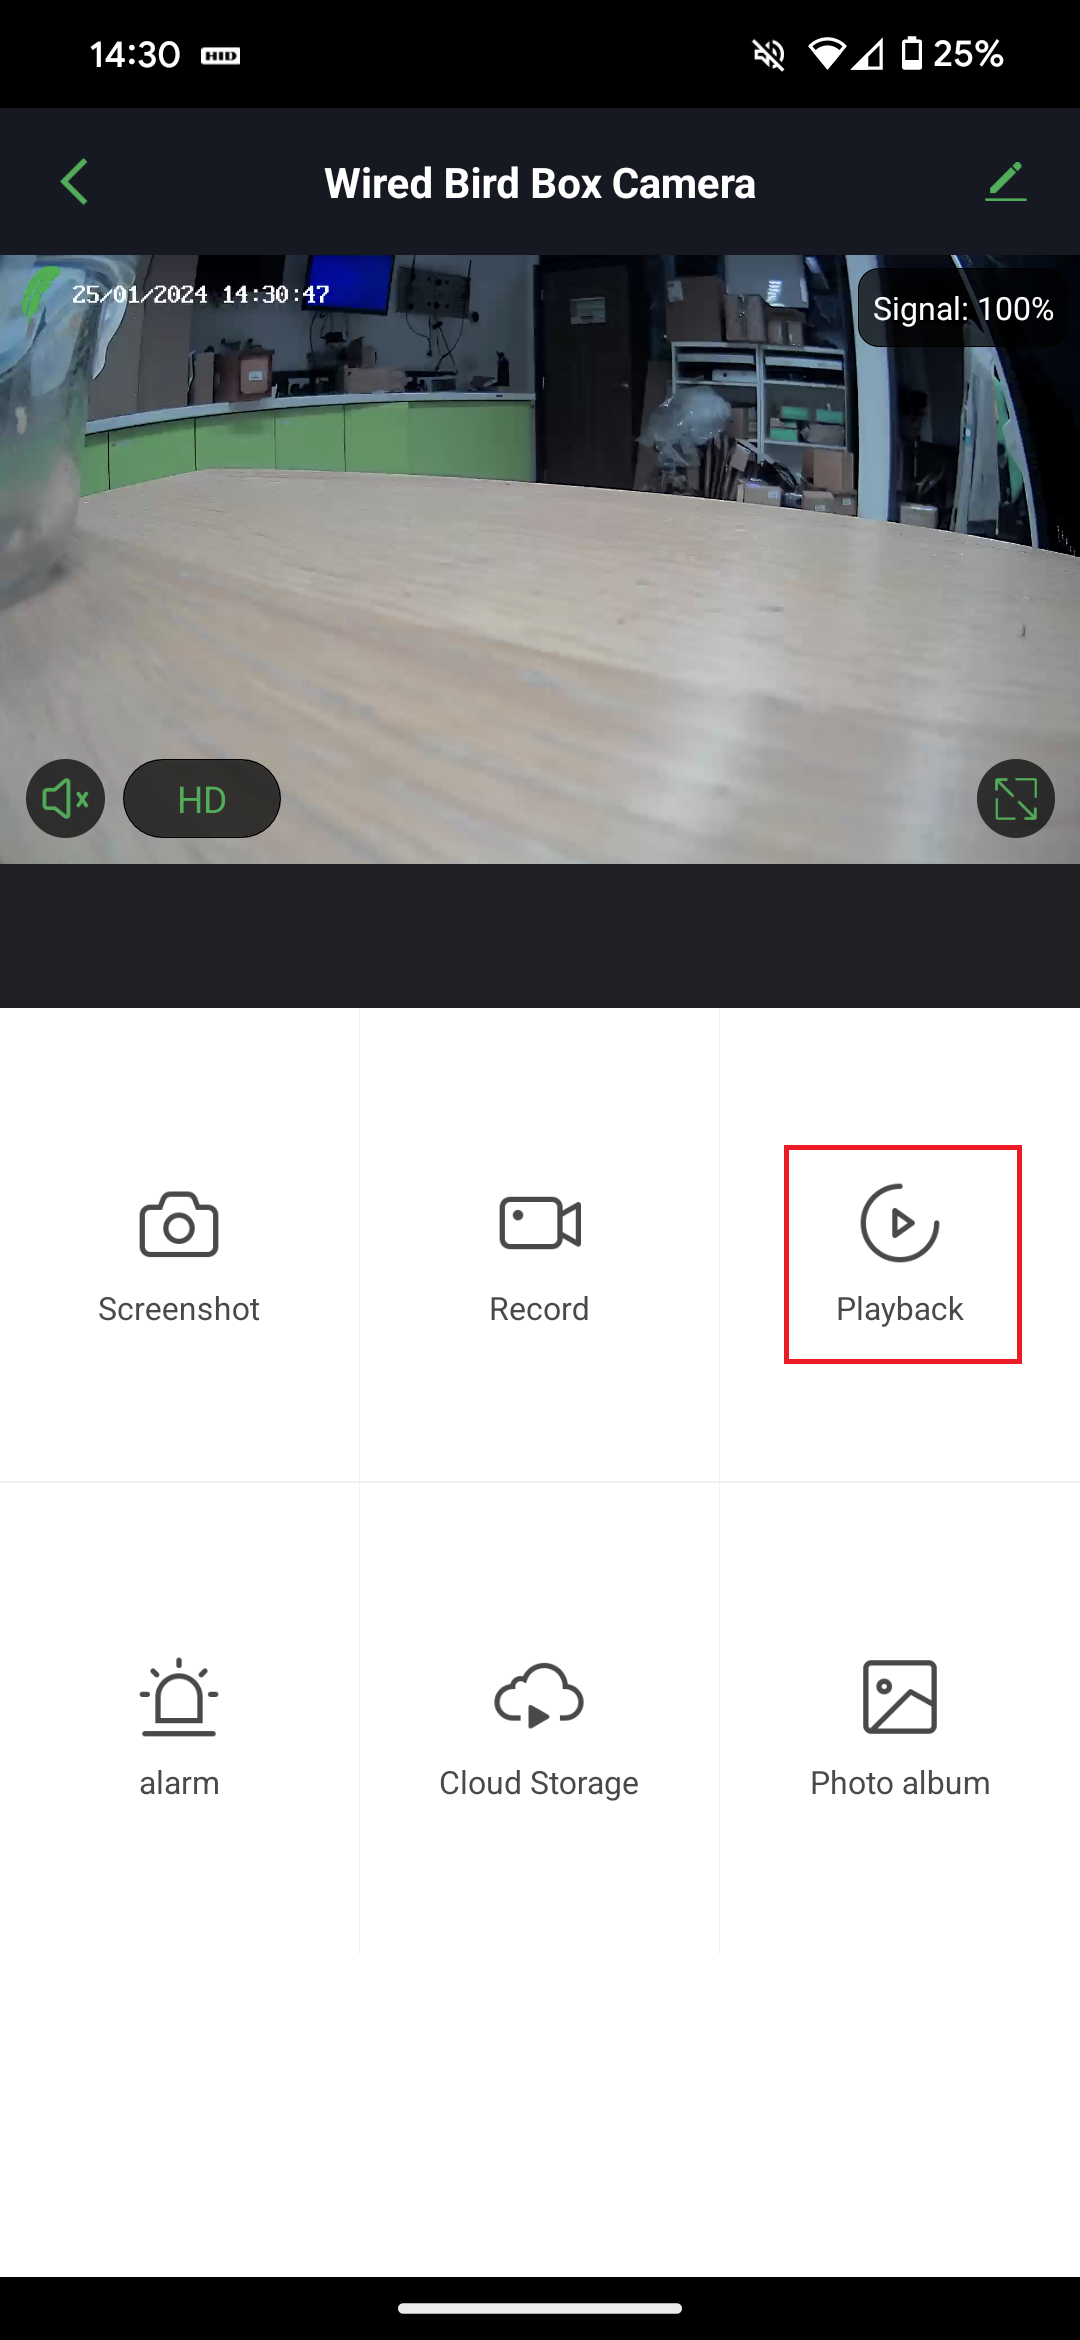
Playback
- If you have a micro SD card inside the camera, tap this button to view footage that has been recorded directly to the card.
- Tap the pause or play icon to stop and start the footage
- Tap the icon at the bottom left of the recording to turn the sound on or off
- Tap the icon at the bottom right to turn on full-screen mode, to turn it off tap the arrow in the top left corner of the screen
- Scroll left or right on the bar beneath the recording to change the time of day being played back
- Tap the 'Date' icon to change the day you are viewing recordings from
- Tap the 'Screenshot' or 'Record' icon to take a screenshot or a snip of a recording on the micro SD card and save it to your phone or tablet. This is useful if you only want to share a small section of a video on the device.
Cloud storage
- Here you can purchase cloud storage for the footage recorded by the camera.
- This is provided by a third party and is not affiliated with Green Feathers, tap the button within the app for more information.
- You can alternatively use a micro SD card inside the camera.
Alarm
For detailed information about the motion detection settings, see this article:
3rd Gen Wi-Fi camera motion detection settings and notifications
Motion Detection Alarm
- Tap this switch to enable or disable motion detection.
Alarm Sensitivity Level
- Adjust the amount of motion required to trigger motion detection.
- We recommend setting it to High at first, then depending on the number of unwanted motion triggers received, you can turn it up or down.
Schedule
- Specify a time when to turn motion detection on, and when to turn it off.
- For example, if you wanted to have the camera watch for motion at night time only, you could set it to enable motion detection at 11pm every day, and disable it at 6am every day.
Watch the video below to see a demonstration of the motion detection settings and where to view the notifications:
Photo album
- Scroll down to see this icon.
- Here you can see screenshots and videos recorded from the live view of the camera, or taken from previous recordings on the SD card.
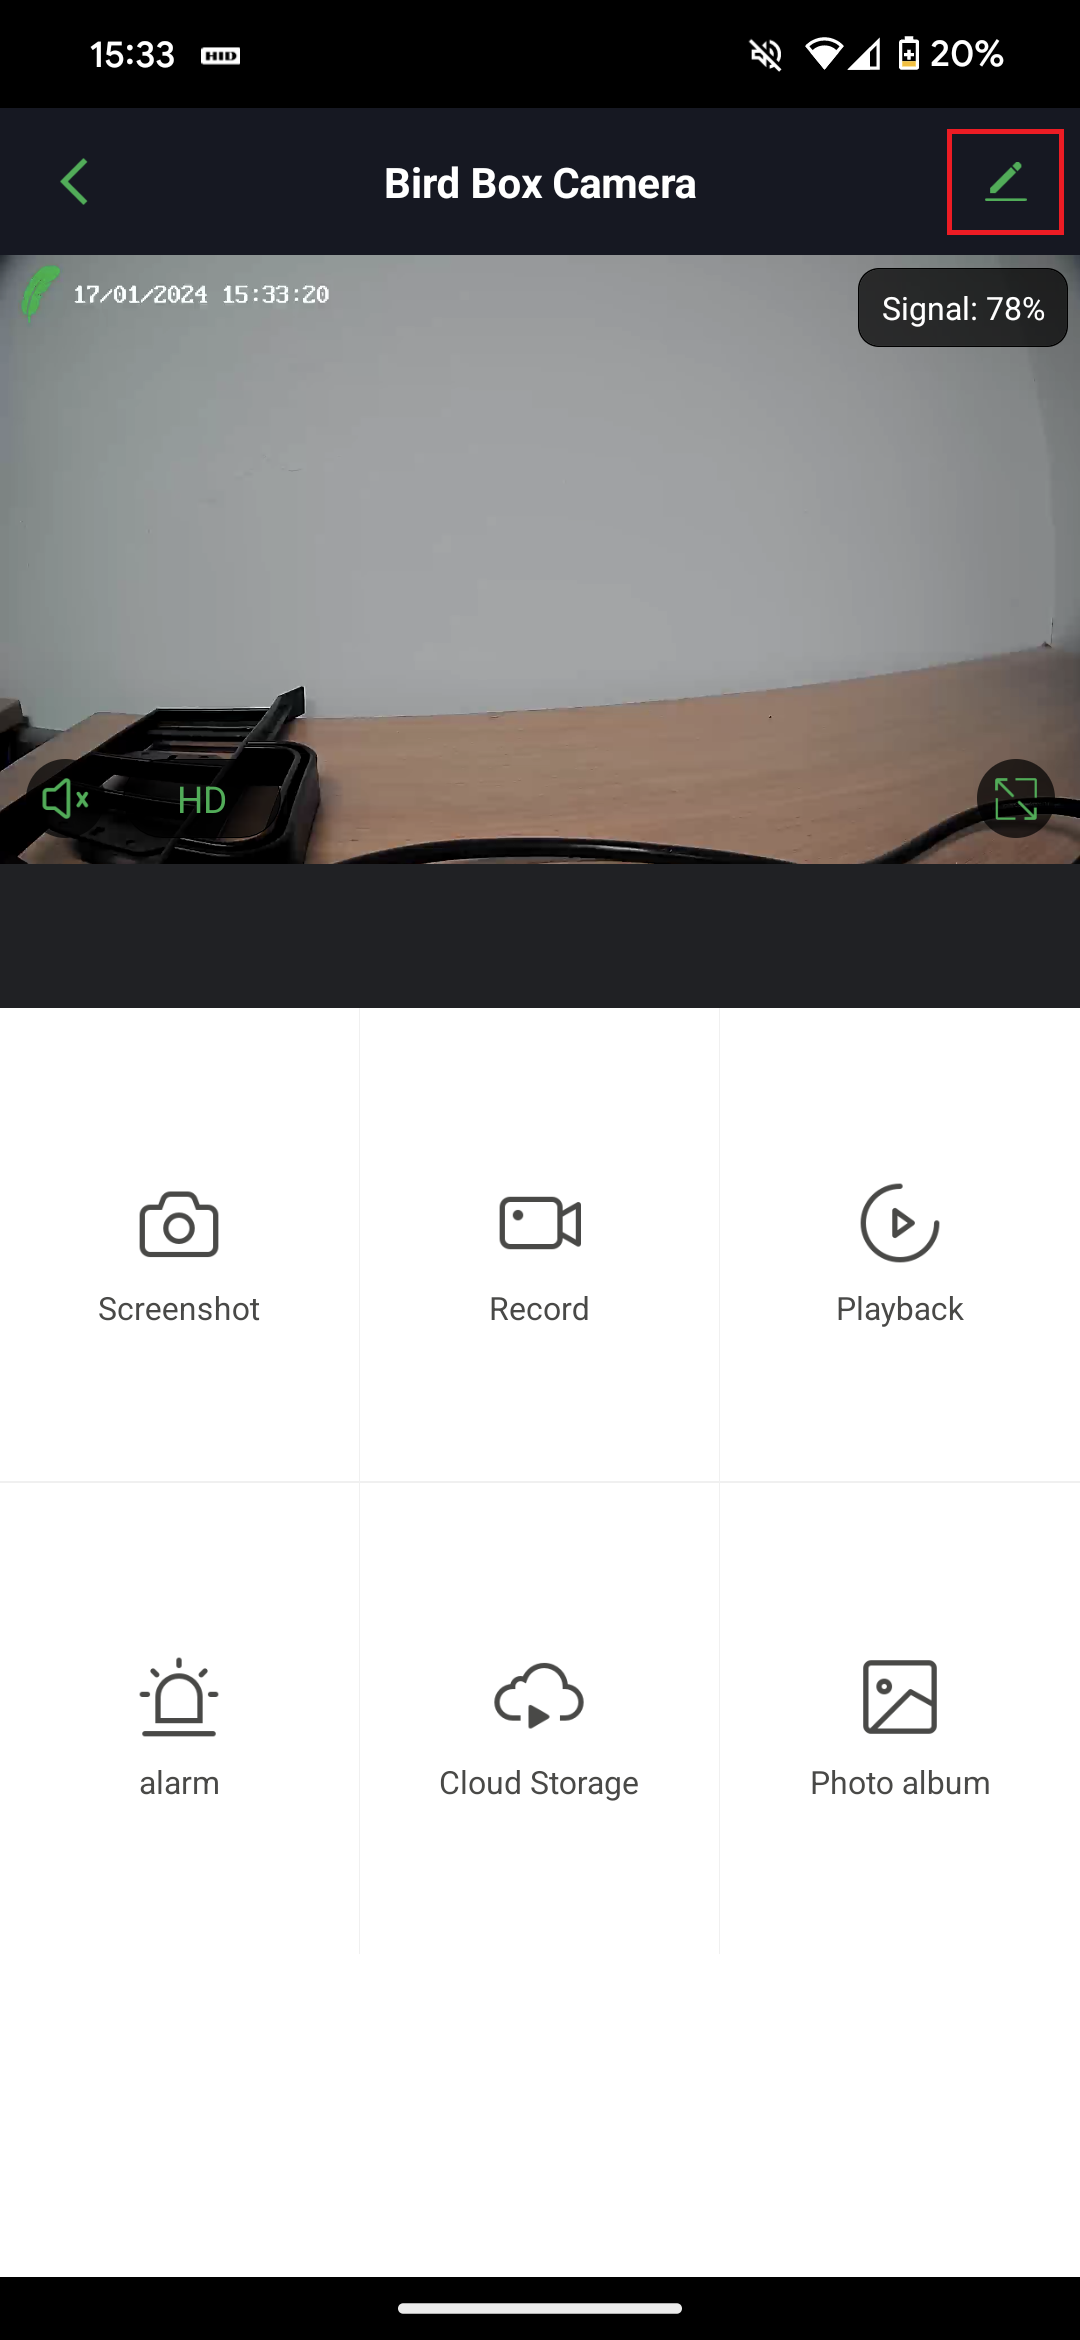
3. Settings menu
Tap on the pencil and paper icon at the top right of the live view screen to access the main settings menu.
[Device name]
- The first option will show up as the name you have set for the device.
- Here you can set a personalised icon for the camera, change the name you have set for it, and set a location for the camera.
Basic Function Settings
Flip screen
- Digitally flip the camera image horizontally so it is upside down.
- If, for a range of potential reasons the camera needs to be physically installed upside down, this option can be used to flip the image so it is the correct way up when viewed in the app.
Time Watermark
- If this setting is enabled, the current time will be overlaid on the live feed and on recordings from the camera.
Talk Mode
- Please ignore this option as it does not apply to this model of camera.
Detection Alarm Settings
Motion Detection Alarm
- Tap this switch to enable or disable motion detection notifications.
Alarm Sensitivity Level
- Adjust the amount of motion required to trigger a motion detection notification.
Schedule
- Specify a time when to turn motion detection on, and when to turn it off.
- For example, if you wanted to have the camera watch for motion at night time only, you could set it to enable motion detection at 11pm every day, and disable it at 6am every day.
Storage Settings (Set recording to motion or continuous)
- Here you can see information and settings for the micro SD card (if you have installed one in the camera):
- Total Capacity: The size of the micro SD card in gigabytes.
- Used: The amount of storage space that has been used so far, in gigabytes. When the micro SD card is full, the camera will begin overwriting the oldest videos stored on the card.
- Remaining Capacity: The amount of storage space left, in gigabytes.
- Local Recording: You can manually disable recording to the SD card if required.
- Recording Mode: Set the camera to record continuously, or only when motion is detected.
- Schedule: Schedule a time to turn the local recording on or off, which can be repeated on a daily or weekly basis.
- Format: Erase all data on the micro SD card. This is often necessary with new micro SD cards.
Offline Notification
- If this is enabled, the app will notify you if the camera goes offline for more than 30 minutes.
Share Device
- Share your camera with other accounts. Read this guide to see how.
FAQ & Feedback
- See here for FAQ's answered by the app developers.
- These are not specific to our camera but can be useful for common issues.
Device Update
- Firmware update your camera using this option.
Remove Device
- This option allows you to delete the camera from your Green Feathers account.
Need more help?
If you need help with anything else please check out our other guides or get in contact.